Ask for Grandma’s biscuit recipe and you may get an answer that sounds almost useless: “A little flour, some shortening, enough buttermilk, and bake them until they’re done.” There are no exact ounces, no timer set to the second and no explanation for how she knew the dough was ready.
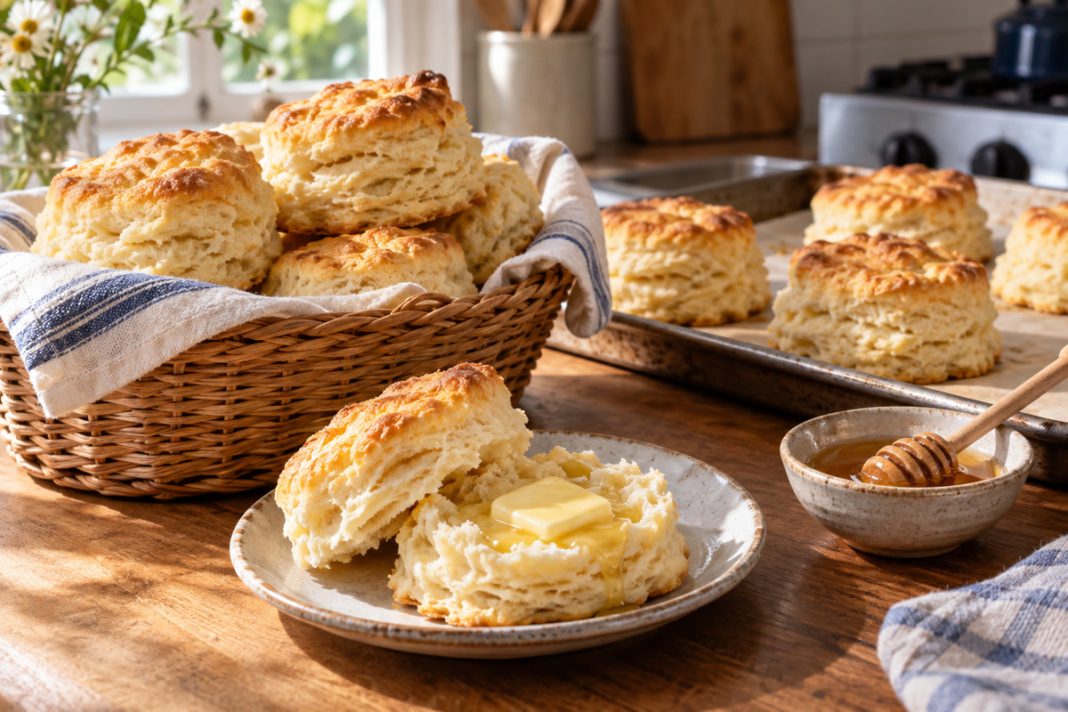
Yet her biscuits rose tall, separated into tender layers and arrived with crisp golden tops. Yours may use the same ingredients and still come out flat, dry or tough. The difference was not a secret ingredient. It was a collection of small decisions she had repeated so often that they no longer felt like decisions.
Here is what her hands knew.
She kept the fat cold
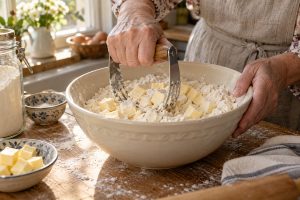
Cold butter or shortening stays in small pieces throughout the dough. In the oven, those pieces melt and release steam, helping create pockets and layers. If the fat softens completely while you mix, it blends into the flour and the biscuits become more uniform and crumbly instead of flaky.
Cut cold butter into cubes, or grate a frozen stick on the large holes of a box grater. If the kitchen is warm, place the bowl in the refrigerator for ten minutes before adding the buttermilk.
She did not punish the dough
Biscuit dough is not bread dough. It does not need long kneading. Too much mixing develops gluten and produces a tougher biscuit. Stir only until the flour is mostly moistened; a shaggy, slightly untidy dough is exactly what you want.
Turn it onto a lightly floured surface and bring it together with your hands. Pat it into a rectangle, fold it into thirds like a letter, rotate it and repeat once or twice. Those quick folds create distinct layers without overworking the dough.

She could feel the right amount of liquid
Flour does not behave identically every day. Humidity, the brand of flour and the way a cup is filled all affect how much buttermilk the dough needs. Grandma added liquid until the mixture felt soft and slightly tacky—not wet enough to pour and not dry enough to crumble.
Start with slightly less buttermilk than the recipe allows. Add the rest one spoonful at a time. Dry flour remaining at the bottom of the bowl means the dough needs more; dough coating your fingers like batter means it has too much.
She cut straight down
Twisting a biscuit cutter can seal the edges and interfere with an even rise. Dip the cutter in flour, press straight down and lift straight up. Place the biscuits close together on the pan if you want soft sides and a taller rise, or leave space between them for crisper edges.
A dependable starting recipe
- 2 cups all-purpose flour
- 1 tablespoon baking powder
- 1 teaspoon salt
- 6 tablespoons very cold unsalted butter
- About 3/4 cup cold buttermilk
Heat the oven to 450°F. Whisk the flour, baking powder and salt. Cut in the cold butter until the largest pieces are about pea-sized. Stir in most of the buttermilk, adding the remainder only if the dough needs it. Fold gently as described above, pat to about one inch thick and cut. Bake for 12 to 15 minutes, until the tops are deeply golden.
Brush with melted butter while warm if that is how your family remembers them.
Grandma’s real advantage was repetition. She noticed when the flour felt damp, when the butter was getting soft and when the dough pushed back too firmly. Measuring gives a new baker a reliable place to begin, but observation turns a recipe into a skill.
The next time you make biscuits, do not chase perfect-looking dough. Keep everything cold, mix less than feels natural and pay attention to texture. After a few batches, your hands will begin to learn the same lesson hers did: the dough will tell you what it needs if you stop long enough to feel it.